- Tunisuino
- Controlling Servo Motors
Controlling Servo Motors
Servo motors are quite common among hobbyists since they are very easy to interface and control, especially with the arduino library. They are designed with both the control circuit and the actual motor embedded inside a little box with 3 exposed wires (red: 5V, black: GND, yellow/orange: signal).
Common servos usually allow precision angular position control over a half circle span (0..180 degrees).
To control a servo with the Tunisuino, connect the signal wire to a digital pin and use the servo library to send the angular position. For instance, if the servo is connected to pin 9 and want to turn its shaft to 120 degrees, use the following code:
#include <Servo.h>

Servo myservo;

void setup()
{
  myservo.attach(9);
  myservo.write(120);
}
You first have to include the servo library (Servo.h) and define an object of type Servo, then use the function attach() to set the connected pin and the function write() to send the actual angle. The motor will then turn according to the set angle. Very handy for robotic applications.
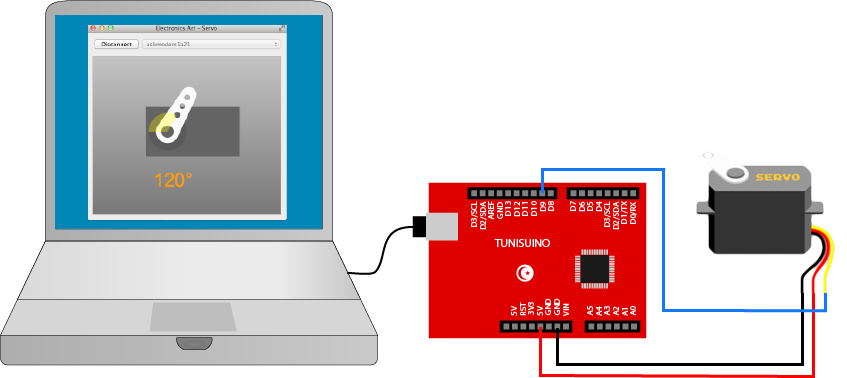
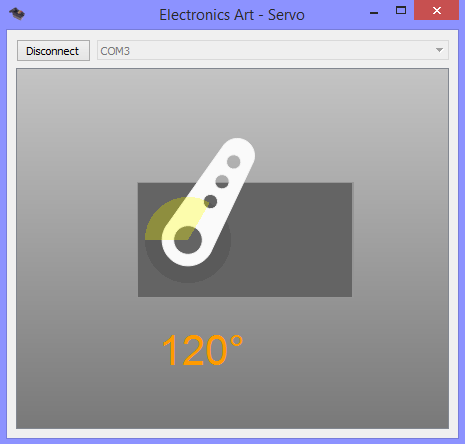
In the following example we will use the Tunisuino to control a servo from a computer graphical interface. You will need to download the Servo application from here. This application allows you to set the position you want with your mouse and it sends automatically the target angle to the selected serial port.
Finally, you need to upload a simple sketch that takes the angle from the Tunisuino serial port and drives the connected servo accordingly:
#include <Servo.h>

Servo myservo;

void setup() {
  myservo.attach(9);
  Serial.begin(9600);
  while(!Serial);
}

void loop() {
  if (Serial.available() > 0) {
      int angle = Serial.read();
      myservo.write(angle);
  }
  delay(10);
}